California Jigging for Beginners
Stepping into the world of jigging in California can feel like trying to solve a complex puzzle, especially with all the specialized gear and techniques out there. It’s easy to get overwhelmed by the sheer variety of jigs and the different ways to work them, often leading to frustration when you're not seeing the results you hoped for. This comprehensive guide is designed to demystify jigging for beginners, breaking down the essential gear, the fundamental techniques, and the critical insights you'll need to start landing fish consistently in California’s diverse waters.
Understanding Jigging Basics for California Waters
Jigging is a dynamic and incredibly effective fishing method, and once you get the hang of it, it can be one of the most rewarding ways to fish in California. It's a method that relies on mimicking injured baitfish or other prey by vertically or horizontally working a weighted lure, or "jig," through the water column. Unlike trolling, where your bait is pulled behind a boat, or bait fishing, where your offering is mostly stationary, jigging is an active pursuit that often requires constant engagement and a keen sense of what's happening beneath the surface.
What is Jigging and Why it Works Here
At its core, jigging involves dropping a weighted lure to a desired depth and then imparting an erratic, attractive motion to it using your rod and reel. This action makes the jig appear like a wounded or fleeing baitfish, triggering a predatory strike from game fish. In California's vast and varied marine environments, from the deep offshore canyons to the shallow inshore kelp beds and even some freshwater lakes, jigging is incredibly versatile. It allows anglers to target a wide array of species, from the hard-fighting rockfish and lingcod on the bottom to the fast-moving yellowtail and tuna that roam the open ocean.
One of the main reasons jigging is so effective here is that it appeals to the natural hunting instincts of many California game fish. These fish are opportunistic predators, and a jig worked correctly can perfectly imitate a struggling meal, making it an irresistible target. The flash, vibration, and erratic movement of a jig often outperform static bait, especially when fish are actively feeding or when you need to cover a lot of water quickly to locate schools. It’s a hands-on approach that keeps you connected to your lure and the potential bite.
Furthermore, California's unique underwater topography, with its dramatic drop-offs, expansive rockpiles, and extensive kelp forests, creates perfect ambush points for predators. Jigs can be precisely worked in these structures, getting right into the strike zone where fish are hiding. Whether you're dropping a lead jig into a deep rockfish hole or casting a metal jig to boiling tuna, the active nature of jigging lets you adapt to various conditions and target specific types of fish, which is crucial for success on our diverse coastlines.
When and Where Jigging Excels in California
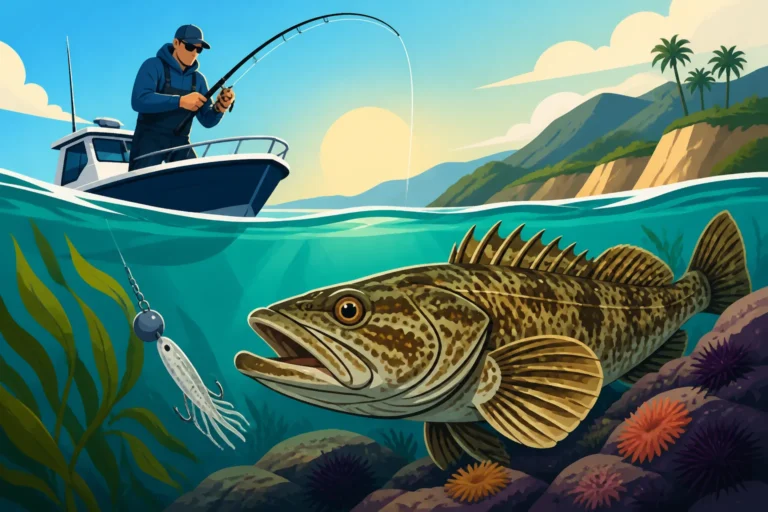
Jigging isn't just a "one-size-fits-all" technique; its effectiveness truly shines in specific situations and locations across California. For instance, if you're out chasing rockfish and lingcod along the Central Coast or off Southern California, vertical jigging directly over rocky reefs and pinnacles is almost always a go-to method. These species are bottom-oriented and will readily strike a jig that's danced enticingly in front of their faces. You'll often find success jigging during periods of lighter current, allowing your jig to maintain a more vertical presentation directly under the boat.
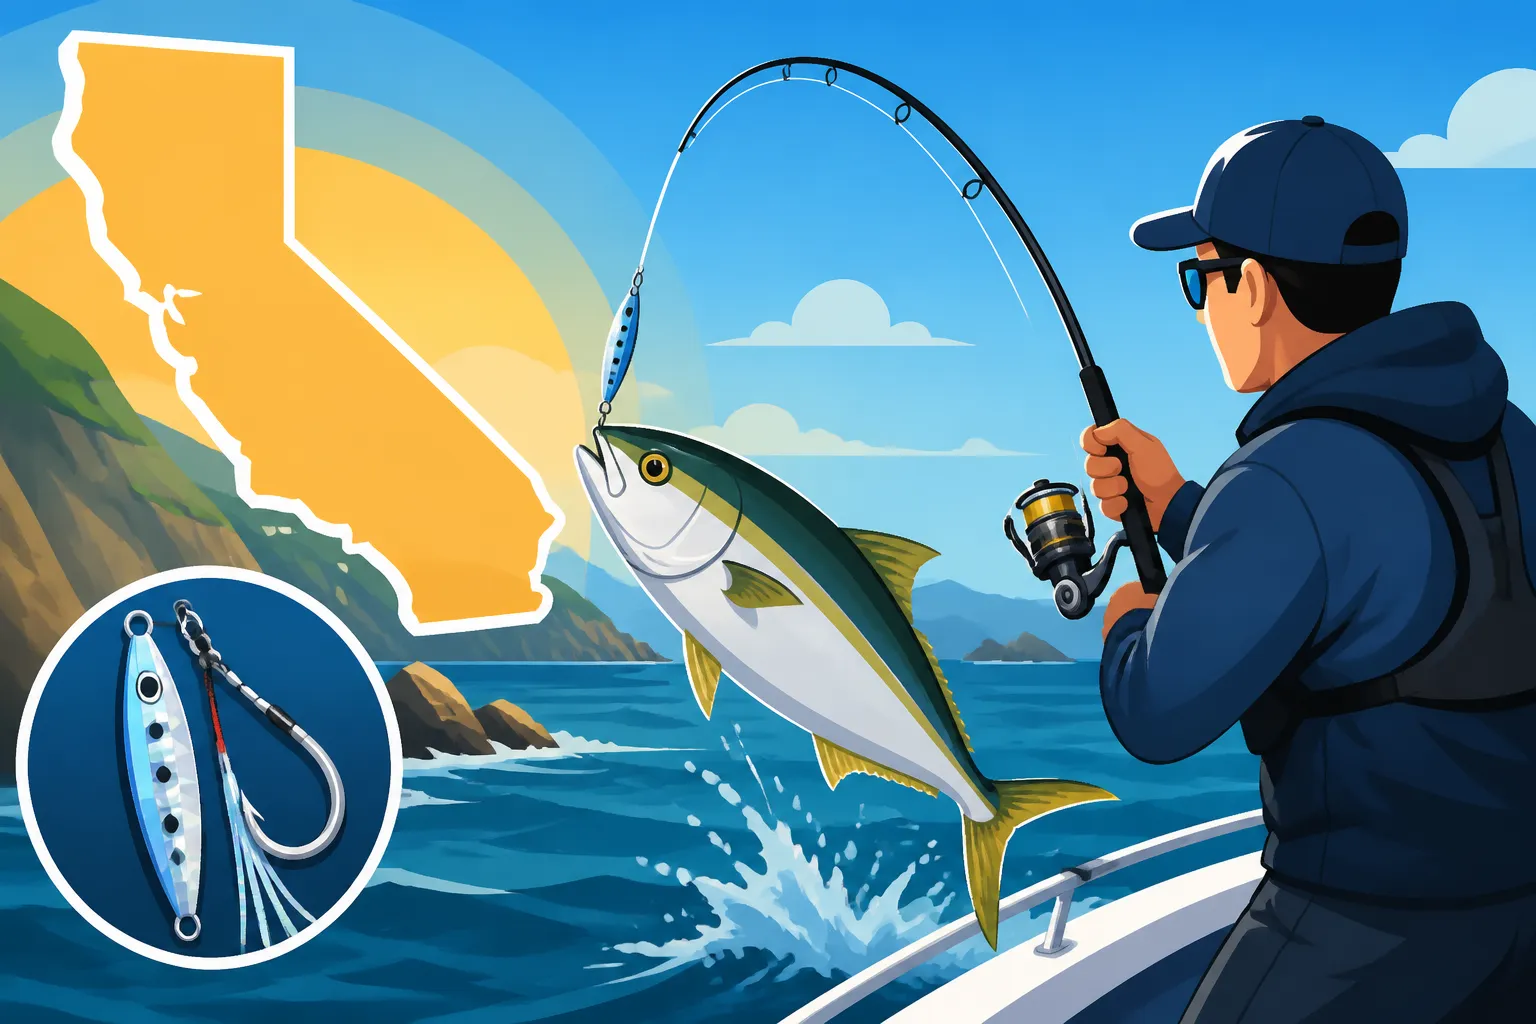
When it comes to pelagic species like yellowtail, tuna, or bonito, particularly in Southern California waters, jigging becomes a high-octane affair. If you spot boiling schools of baitfish with predators crashing through them, or find bait balls on your sonar, casting a heavy metal jig into the fray and retrieving it at high speed can be incredibly productive. This is often done when fishing near the Channel Islands or offshore banks. Even when there isn't an obvious "boil," speed jigging or yo-yo jigging can entice a bite from schooling fish holding deeper in the water column. Check out our guide on how to Yo-Yo Jig for Yellowtail for more specific tips.
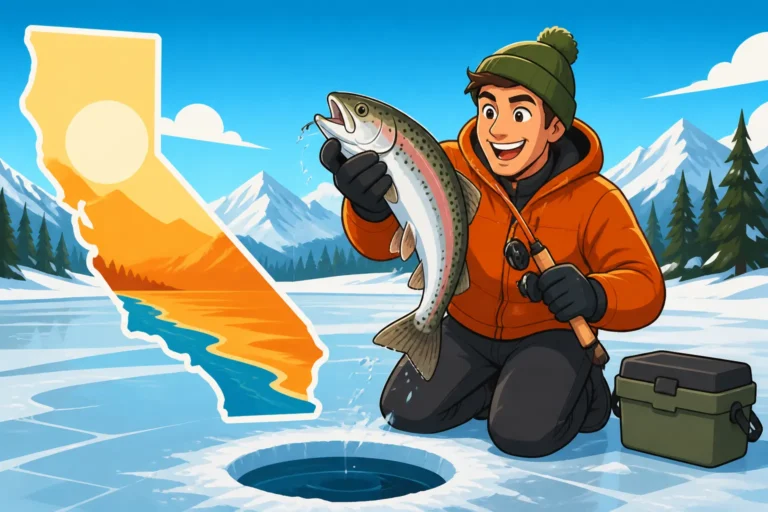
Even in some of California’s freshwater lakes, jigging can be surprisingly effective for species like trout or kokanee salmon. For example, in a deep, clear lake like Lake Tahoe, vertical jigging with small spoons or ice jigs can tempt lake trout holding in cooler, deeper waters. Understanding the specific habits of your target species and the structure of the water you're fishing will help you decide when and where to deploy your jigging arsenal.
The Types of Jigs You'll Encounter
The world of fishing jigs is vast and can feel a bit overwhelming, but for California jigging beginners, we can simplify it into a few main categories based on their design and how they're intended to be fished. Each type has its own strengths, mimicking different baitfish or crustaceans and performing best in certain situations.
First up, you have your vertical jigs, often called "knife jigs" or "speed jigs." These are usually long, slender, and heavy, designed to cut through the water quickly on the drop and create a lot of flash and erratic movement when retrieved rapidly. They're fantastic for deep water and target fast-moving predators like tuna, yellowtail, and even deep-water rockfish. The goal with these is often to mimic a fleeing baitfish. You'll often find them in chrome, blue-and-white, or sardine patterns.
Then there are casting jigs or surface jigs, which are generally lighter and often designed to be cast a long distance. These are usually retrieved horizontally, mimicking baitfish fleeing across the surface or just below it. Think about the classic iron jigs from brands like Salas or Colt Sniper. They come in various shapes and weights, from flat, wide designs that flutter to more streamlined profiles for speed. These are excellent for busting tuna, dorado, or yellowtail feeding on the surface, and even for surfperch in the surf.
Finally, we have bottom jigs or lead heads. These are incredibly versatile, often featuring a heavy lead head with a hook, to which you can add a soft plastic grub or swimbait. These are phenomenal for slower, more deliberate fishing, particularly for rockfish, lingcod, halibut, and even bass. The soft plastic provides lifelike action and scent, while the lead head gets it down to the strike zone. Sometimes, these are referred to as "flutter jigs" if they have a wider profile designed to fall slowly with a wobbling action, making them irresistible to bottom dwellers. Knowing which type of jig to tie on can make a huge difference in your success, depending on what you're targeting and where you're fishing.
Essential Gear for Beginner Jigging in California
Getting started with jigging doesn't mean you need to break the bank, but having the right foundational gear will make a world of difference in your experience and success. The key is to choose equipment that is durable, appropriately sized for the fish you'll be targeting, and designed to handle the stresses of repeated jigging motions. Don't be tempted by the cheapest options; investing a little more upfront will save you frustration and potential gear failure down the line.
Rods and Reels for Jigging Success
When it comes to jigging, your rod and reel are the dynamic duo that transmits all the action to your lure and helps you battle the fish. For rods, you're looking for something with a fast action and a strong backbone. "Fast action" means the rod bends mostly in the tip section, allowing you to impart quick, sharp movements to the jig and detect subtle bites. A strong "backbone" refers to the lower section of the rod, which provides the lifting power needed to pull stubborn fish away from structure or bring them up from deep water. Many anglers prefer specialized jigging rods, which are often shorter (5'6" to 7'6") and incredibly stout. Brands like Okuma or Shimano offer excellent entry-level jigging rods that can handle the abuse.
For reels, you'll generally choose between conventional (lever drag or star drag) and spinning reels, depending on your preferred style of jigging and target species.
Conventional reels are often favored for vertical jigging in deeper water or for larger, stronger species like tuna, as they offer incredible winching power and line capacity. Look for models with smooth, powerful drags that can withstand long fights.
Spinning reels, on the other hand, are excellent for casting jigs to schooling fish, speed jigging, or for beginners due to their ease of use in casting. They're typically lighter and allow for quick, long casts. Regardless of type, ensure your reel has a high gear ratio (6.0:1 or higher for speed jigging, 4.0:1 to 5.0:1 for power/deep jigging) to allow for quick line retrieval, which is essential for working jigs effectively and keeping tension on a fish. You can find a wide selection of suitable rods and reels on platforms like Amazon, offering a convenient way to compare options and read reviews.
| Reel Type | Best For | Key Features | Examples (General) |
|---|---|---|---|
| Conventional | Deep vertical jigging, large species | High cranking power, excellent drag systems, high line capacity, precise control | Penn Fathom, Daiwa Saltiga |
| Spinning | Casting jigs, speed jigging, beginners | Easy casting, versatile, lighter, good for rapid retrieves, generally user-friendly | Shimano Saragosa, Penn Battle |
Remember, pairing your rod and reel correctly is crucial. A balanced setup will reduce fatigue during a long day of jigging and allow you to feel even the most delicate takes. Don't hesitate to visit a local tackle shop to hold a few setups and get a feel for what works best for you.
Line Choices: Braided, Fluorocarbon, and Mono
The line you choose is the direct connection between you and your jig, and ultimately, the fish. For jigging in California, braided line is almost universally recommended as your main line. Why braid? It has virtually no stretch, which means you get incredible sensitivity, feeling every tap and bump on your jig, and direct power transfer for hooksets. Its thinner diameter for a given breaking strength also means less water resistance, allowing your jig to get to depth faster and maintain a more vertical presentation in current. A 30 to 65-pound braided line is a good starting point for most inshore and nearshore jigging in California, going up to 80-100 pound for offshore tuna.
While braid is fantastic for its sensitivity and strength, it's also very visible in the water and can be easily cut by sharp teeth or rough structure. This is where fluorocarbon leaders come in. Fluorocarbon is nearly invisible underwater, providing a stealthy presentation that can be crucial for enticing wary fish. It's also much more abrasion-resistant than braid, protecting your line from rocks, kelp, and toothy critters. A 3 to 6-foot fluorocarbon leader, tied to your main braid with a strong knot like an FG or Alberto knot, is standard practice. The strength of your leader should match your target species and the water conditions – 20-pound test for smaller halibut, up to 80-100 pound for larger yellowtail or tuna.
You might wonder about monofilament line. While not typically used as a main line for jigging due to its stretch and thicker diameter, some anglers might use a short section of heavier mono as a leader for its shock-absorbing qualities when targeting exceptionally hard-hitting fish or to provide an extra layer of abrasion resistance in certain situations. However, for a beginner, focusing on a quality braided mainline connected to a fluorocarbon leader will cover 99% of your jigging needs effectively. Good quality fluorocarbon leader material is readily available, and brands like Seaguar or Berkeley Vanish are popular choices among anglers.
Must-Have Jigs for Your Tackle Box
Alright, let's talk about the stars of the show: the jigs themselves! When you're just starting, it's easy to get lost in the endless options, but a few key types and colors will set you up for success across many California fishing scenarios. You want versatility and effectiveness, not just a tackle box full of lures you'll never use.
For bottom fishing for rockfish and lingcod, you absolutely need some heavy lead jigs or flutter jigs. Think about jigs weighing anywhere from 4 to 12 ounces, depending on the depth and current you're fishing. Colors like chrome, blue-and-white, sardine, or even glow-in-the-dark patterns are excellent. These jigs are designed to get down fast and mimic a stunned baitfish as they flutter. Brands like Ahi USA, Shimano, and Nomad Design make excellent jigs in this category. Paired with a sturdy treble hook or a single assist hook, these are dynamite for pulling fish off the bottom. Remember that many areas have strict California Rockfish Regulations and Limits, so always check the latest rules before heading out.
When targeting more aggressive, pelagic species like yellowtail, bonito, or smaller tuna, you'll want to stock up on casting jigs or "iron" jigs. These typically range from 1 to 4 ounces and are designed for long casts and fast retrieves. Classic surface irons like a Salas 7X or a Tady 45 in scrambled egg, mint, or blue-and-white patterns are legendary for good reason. They swim with an enticing wobble and flash that drives surface feeders wild. For deeper, more aggressive fish, or when yo-yo jigging, consider heavier, denser iron like a Tady 9 or a Salas 6X. Having a few different sizes and colors allows you to "match the hatch" – meaning, use a jig that looks like the baitfish the predators are currently feeding on, whether it's anchovies, sardines, or mackerel.
Lastly, don't overlook lead head jigs paired with soft plastics. While technically a lure system, the lead head is the jig part, and it's incredibly effective. A 1/2 ounce to 2 ounce lead head with a curly tail grub or a paddle tail swimbait is a killer combo for bay halibut, sand bass, or even freshwater bass. Colors like pearl white, motor oil, or green pumpkin are often productive. These offer a more subtle, natural presentation and can be deadly when fish are finicky. You can find a huge variety of these jigs and soft plastics on Amazon, making it easy to experiment with different combinations without breaking the bank. Always remember to consider the size of the baitfish in the area you're fishing; using a jig that's too large or too small can drastically reduce your bites.
Key Jigging Techniques for California's Most Common Species
Once you've got your gear dialed in, it's time to learn how to actually work those jigs to entice a bite. Jigging isn't just about dropping and reeling; it's an art form that involves rhythm, speed, and understanding how your lure interacts with the water. Different species and conditions call for different approaches, so let's break down some of the most effective techniques you'll use in California.
Vertical Jigging for Bottom Dwellers
Vertical jigging is probably what most people picture when they think of jigging, and it's particularly deadly for bottom-dwelling species like rockfish, lingcod, and sometimes halibut. The idea is simple: get your jig down to the bottom or just above the structure where these fish live, and then make it dance.
To execute a basic vertical jig:
- Drop it down: Let your jig freefall until it hits the bottom. You'll feel a slackening of your line, or the rod tip will bounce.
- Reel up a few cranks: This gets your jig just off the bottom, preventing snags, but keeps it in the strike zone.
- The "Lift and Drop": This is the core motion. Lift your rod tip sharply about 2-4 feet, then immediately drop it back down, letting the jig flutter. As it falls, reel in any slack line, but be ready for a strike on the drop – that's when many fish hit.
- Repeat: Find a rhythm, varying the speed and height of your lifts. Sometimes a slow, methodical lift-and-drop is best, while other times a more aggressive series of short, sharp snaps will trigger a bite.
A common mistake beginners make is reeling up too quickly, pulling the jig out of the strike zone. Stay focused on the depth. If you're fishing in a heavy current, you might need to use a heavier jig to maintain that vertical presentation. This technique is a fantastic way to target species like those covered in our California Lingcod Regulations and Limits guide, especially around rocky structures and pinnacles found off places like Monterey Bay or Morro Bay. Always be mindful of nearby structure to avoid getting snagged, and if you do, try to jig it free with a quick snap of the rod.
Speed Jigging for Pelagic Predators
Speed jigging is a more aggressive, high-energy technique designed to trigger reaction strikes from fast-swimming pelagic predators like yellowtail, tuna, and bonito that chase down fast-moving prey. Unlike vertical jigging, which focuses on a controlled, subtle presentation, speed jigging is all about creating a rapid, erratic retrieve that mimics a fleeing baitfish.
Here's how to do it:
- Drop it deep: Let your slender, heavy speed jig freefall to your desired depth – often near the bottom or where you see fish marks on your sonar.
- The "Jig and Wind": This is a coordinated action. With your rod tip pointed at the water, reel in a few quick turns of the handle while simultaneously lifting your rod aggressively from a low position to a high position.
- Drop the rod tip: As you drop your rod tip back down quickly, let the jig flutter, and immediately start reeling again, repeating the lift and wind.
- Fast and furious: The goal is a continuous, fast motion. The jig should dart, flash, and tumble, looking like a panicked baitfish. Maintain a tight line throughout, as strikes can be brutal and sudden.
This technique is physically demanding but incredibly effective when fish are active. You'll often find success when fishing areas known for migratory species, such as offshore banks or kelp patties in Southern California. The fast retrieve often means that the fish have little time to inspect the lure and strike out of pure instinct. This technique is often used when fishing offshore for bluefin or yellowfin tuna. Always keep an eye on your boat's fishfinder for signs of bait or fish holding in the water column; that's your cue to start speed jigging!
Yo-Yo Jigging for Deeper Action
Yo-yo jigging is a specialized form of vertical jigging, particularly effective for deep-water yellowtail, tuna, and other hard-fighting game fish when they are holding close to the bottom or structure. It's named for its distinct "yo-yo" motion: a rapid drop followed by a swift retrieve, often repeated multiple times without pauses.
Here’s how to master the yo-yo:
- The long bomb drop: Use a heavy, dense jig – often a traditional "iron" jig in a streamlined shape like a Salas 6X or Tady 9 – and free-spool it all the way to the bottom. Let it hit with authority.
- The immediate wind: The moment your jig hits bottom, engage your reel and start winding as fast as you possibly can. This isn't a slow, steady retrieve; it's a burn. Crank with all your might, bringing the jig up quickly through the water column.
- The strike zone: Fish often hit a yo-yo jig in the first 50-100 feet off the bottom as it streaks upwards. Be ready for a brutal strike. If you don't get bit, let the jig drop back to the bottom and repeat the process.
- Rinse and repeat: This technique is about covering the water column quickly from the bottom up, triggering a reaction bite from fish that are holding deep. It’s particularly effective when you mark fish on the bottom but they're not responding to a slower presentation.
Yo-yo jigging can be exhausting, but it's incredibly rewarding when fish are in the mood. It's a go-to technique on many party boats and private charters when targeting those elusive deep-water yellowtail or larger California Halibut. It's a true test of endurance and arm strength, but the reward of a solid hookup makes it all worthwhile. For more detailed insights, definitely read our article on How to Yo-Yo Jig for Yellowtail.
Common Mistakes and How to Avoid Them
Even seasoned anglers make mistakes, and when you're just starting with jigging, it's easy to fall into some common traps. The key to improving isn't just about learning the right techniques, but also understanding what not to do and how to troubleshoot when things aren't going your way. Jigging is often a game of subtle adjustments, and recognizing these pitfalls can quickly elevate your game.
Misconceptions About Jig Weight and Action
One of the most frequent mistakes beginners make is misjudging the appropriate jig weight. It's easy to think "heavier is better" to get down faster, but an overly heavy jig can hinder its action, making it look unnatural. Conversely, a jig that's too light will get swept away by current, making it impossible to stay in the strike zone or feel bites.
The trick is to use the lightest jig possible that still allows you to maintain contact with the bottom (for vertical jigging) or achieve the desired depth and action (for speed jigging). For instance, if you're fishing in 100 feet of water with minimal current, a 4-ounce jig might be perfect. But if the current picks up, you might need to bump up to 6 or even 8 ounces to keep that vertical presentation. Always consider the depth, current, and wind when selecting your jig. If your line is bowing significantly, or you're not feeling the jig hit bottom consistently, it's time to go heavier. If you're using too heavy of a jig, you might notice your arm getting tired quickly, and the jig won't flutter as freely on the drop.
Another misconception relates to jig action. Not all jigs are created equal, and each has a unique flutter, wobble, or darting motion. Some beginners assume a jig should just "swim." In reality, the magic often happens on the fall or during the pauses. A knife jig is designed to dart erratically, while a flutter jig might have a wider, slower side-to-side descent. If you’re not getting bites, try altering your retrieve. Don't just reel; introduce pauses, vary your rod sweeps, and pay attention to how your jig behaves. Watch videos of pros jigging to understand the nuances of imparting action. Sometimes, a subtle lift and drop, rather than a violent one, is all it takes to trigger a strike from a wary fish. Don't be afraid to experiment with different sizes and shapes, like those found on Amazon, to see what the fish prefer on any given day.
The Importance of Presentation and Retrieval
Beyond just jig weight, the actual presentation and retrieval technique are paramount. Many beginners make the mistake of retrieving their jigs too uniformly or without enough variation, essentially making the lure look "dead" or unnatural to a fish. Fish aren't always looking for a perfectly swimming baitfish; often, it's the injured, struggling, or fleeing motion that triggers a predatory response.
Think about the baitfish in the area. Are they darting around quickly? Then a faster, more erratic retrieve might be called for. Are they slowly meandering or wounded? A slower, more subtle lift-and-drop with longer pauses could be the ticket. Vary your retrieve speed, the length of your rod sweeps, and the duration of your pauses. Sometimes, a fish will follow a jig all the way up and only strike when you pause it briefly right at the boat. Conversely, a fish might only commit to a high-speed retrieve that leaves them no time to think. This adaptive approach is key to consistently catching fish, whether you're targeting specific species or exploring new waters.
Another crucial aspect of presentation is ensuring your jig is presented in the right part of the water column. This means paying attention to your fish finder. Are the fish marking on the bottom? Then keep your jig within 10-20 feet of the seabed. Are they suspended mid-water? Get your jig down to that depth and work it through the school. If you're not getting bites, try moving your jig up or down in the water column in increments of 10-20 feet. Often, fish will be holding at a specific depth, and a slight adjustment can make all the difference. This level of detail in presentation can be the separating factor between a slow day and a banner day on the water, whether you're fishing for tuna or rockfish. Our guide to California Fishing Regulations by Region will help you understand specific depth restrictions and other rules that impact where you can fish.
Overcoming Frustration and Staying Persistent
Let's be real: jigging can be tough, especially when you're starting out. There will be days when you feel like you're doing everything right, and still, nothing bites. This frustration is a natural part of the learning process, but it's important not to let it get the best of you. Persistence and adaptability are two of the most valuable traits a jigger can possess.
One of the biggest hurdles is the physical demand. Speed jigging or continuous vertical jigging for hours can be exhausting. Take breaks, switch hands, or try a different technique for a bit. Don't push yourself to the point of complete fatigue, as your form will suffer, and you'll likely miss bites. If you're on a party boat, watch what other successful anglers are doing. Are they using a different color? A heavier jig? A faster retrieve? Don't be afraid to ask for advice; most anglers are happy to share tips, especially if you're respectful and genuinely looking to learn.
Another aspect of persistence is knowing when to change tactics. If a particular jig color or retrieve isn't working after a reasonable amount of time (say, 30-60 minutes in a productive area), don't be stubborn. Switch jig types, try a different color, or alter your retrieval pattern significantly. Sometimes, even a slight change in the light, current, or water temperature can make fish prefer a different presentation. The more you jig, the more you'll develop an intuitive understanding of what works and when. Remember that every cast is a new opportunity, and every "no bite" is a data point helping you narrow down what the fish don't want. Keep experimenting, keep learning, and celebrate those hard-earned jigging hookups!
Disclaimer
Fishing regulations and conditions in California can change frequently. Always consult the latest California Fishing Regulations Explained booklet or the California Department of Fish and Wildlife website before heading out. The information provided in this guide is for general informational purposes only and should not be considered legal or binding advice. Be aware of all bag limits, size limits, and restricted areas, such as Marine Protected Areas, to ensure you are fishing legally and responsibly.