California Pier Fishing Tips and Techniques
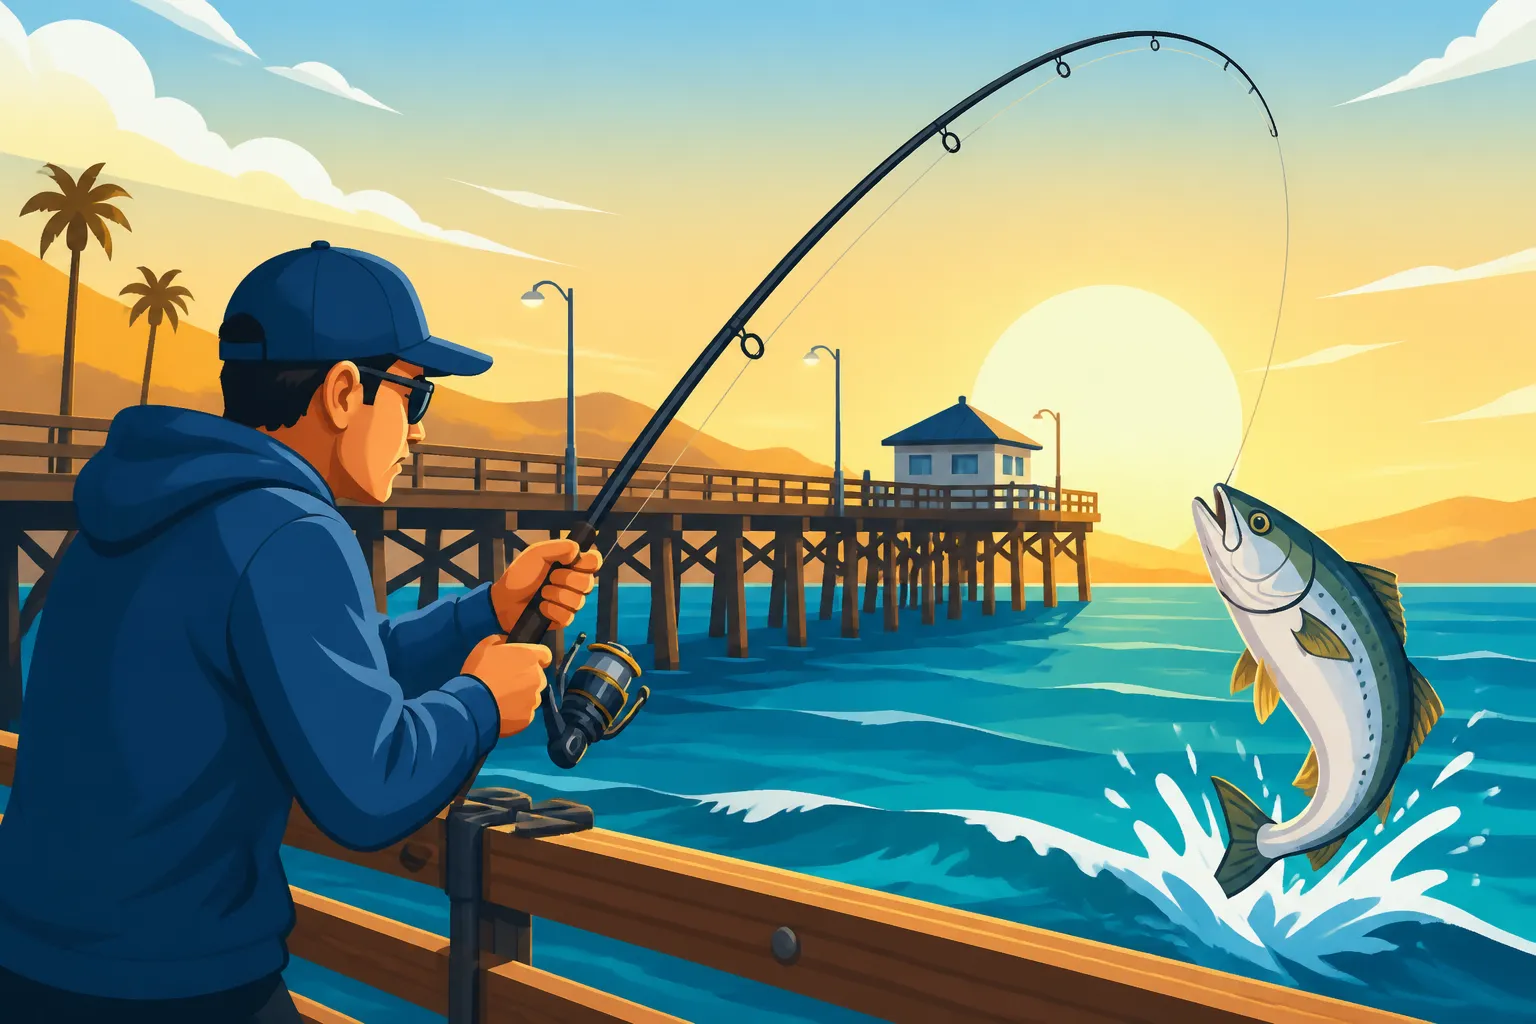
There's something uniquely enchanting about pier fishing in California, isn't there? The salty air, the distant cry of gulls, the rhythmic sound of waves, and that ever-present hope that this cast will be the one. Yet, for many of us, those dreams of reeling in a magnificent catch often turn into hours of staring at a still line, wondering what we're doing wrong. It can be incredibly frustrating to spend a beautiful day out on the pier only to come home empty-handed. If you've ever felt like pier fishing is more about luck than skill, you're in the right place, because this guide is all about equipping you with the practical knowledge, tips, and techniques to transform your pier outings into consistently successful and enjoyable adventures.
Understanding California Piers: More Than Just a Plank
It's easy to look at a pier as just a long wooden or concrete walkway extending over the ocean, but for fish, it's a bustling, vibrant neighborhood. Recognizing this is the first step to truly mastering pier fishing.
The Unique Ecosystem of a Pier
Think of a pier not as an isolated structure, but as a thriving, man-made ecosystem in the marine environment. Those sturdy pilings, whether made of wood, concrete, or steel, plunge deep into the seabed, instantly becoming prime real estate for a myriad of marine life. Algae, mussels, barnacles, and anemones quickly colonize these surfaces, creating a rich food source that attracts smaller baitfish like anchovies, sardines, and smelt. These baitfish, in turn, draw in larger predatory species that are constantly on the hunt.
The pier structure itself provides crucial cover and shade, which fish absolutely love. Just like we seek shelter from the sun, fish often congregate in the cooler, darker shadows cast by the pier decking and pilings. This offers them protection from overhead predators and a comfortable ambush point for their own prey. Furthermore, the sheer length of many California piers means they extend beyond the shallow surf zone, reaching deeper waters where different species lurk. As currents sweep past the pilings, they create eddies and upwellings that concentrate bait and nutrients, making these areas natural feeding grounds. Understanding this dynamic interplay between the structure, the bait, and the currents is paramount. For instance, the renowned Santa Monica Pier, with its extensive length and varied depth, offers anglers opportunities for both nearshore and deeper water species simply by moving along its expanse.
Common Fish Species You'll Encounter
The beauty of pier fishing in California is the incredible diversity of species you can target. It's not uncommon to catch half a dozen different types of fish in a single outing if you know what you're doing and adapt your approach.
Nearshore, closer to the beach, you'll often find surfperch, croakers (like the spotfin and yellowfin croaker), and even small California halibut burying themselves in the sand. As you move further out on the pier, the species composition shifts dramatically. Here, you're more likely to encounter schools of mackerel (Pacific and jack mackerel), bonito, and even smaller barracuda chasing baitfish. Around the pilings, you might find rockfish, cabezon, and even sheephead if the pier has ample rock structure or kelp nearby. And don't forget the bottom dwellers! Leopard sharks, bat rays, and various types of sole and turbot are frequently caught off the sandy or muddy bottoms beneath California's piers.
The specific species you'll encounter can vary greatly depending on the region. A pier in Southern California, like the Oceanside Pier, might offer more opportunities for yellowfin croaker, mackerel, and even occasional yellowtail during warmer months, while a pier further north, such as the Pacifica Pier, is famous for Dungeness crab and might yield more kingfish (smelt), perch, and sometimes even salmon if you're lucky and the season is open. It’s always a good idea to check local fishing reports or chat with seasoned anglers on the pier to get a sense of what’s biting at that particular time.
Essential Gear for Successful Pier Fishing
One of the most appealing aspects of pier fishing is its accessibility – you don't need a boat, and you don't necessarily need a ton of expensive gear. However, having the right gear can make a world of difference between a frustrating trip and a successful one.
Rods, Reels, and Line: Matching Your Quarry
Choosing the right rod and reel setup is foundational for effective pier fishing. You'll want something versatile enough to handle a variety of species, but also powerful enough to manage the unexpected larger fish.
For general-purpose pier fishing, a medium to medium-heavy action spinning rod, typically between 7 to 9 feet in length, is a fantastic choice. This length provides good casting distance to reach beyond the immediate pier structure but is still manageable in crowded conditions. Pair this with a 3000 to 5000 series spinning reel loaded with 15 to 20-pound monofilament or braided line. Monofilament offers a bit more stretch and forgiveness, which can be helpful when a fish makes a sudden run or if your knots aren't perfect. Braided line, on the other hand, offers superior sensitivity, allowing you to feel even the slightest nibble, and its thinner diameter for the same breaking strength means you can cast further. If you go with braid, remember to use a fluorocarbon leader (20-30 lb test) for abrasion resistance against pilings and to make your line less visible to fish. Many anglers find excellent, durable setups suitable for pier fishing on platforms like Amazon, offering a wide selection to match different budgets and preferences.
If you're specifically targeting larger species like leopard sharks, bat rays, or a surprise legal-sized halibut, you might want to consider a heavier setup. This would involve a beefier 9 to 11-foot rod with a medium-heavy to heavy action, paired with a 6000-8000 series spinning reel or a conventional reel, spooled with 30 to 50-pound braided line and a strong fluorocarbon leader. Conversely, for smaller panfish like smelt or juvenile perch, a lighter, more sensitive 6-7 foot rod with a 2500 series reel and 8-10 pound line can be incredibly fun, allowing you to truly feel every head shake.
Terminal Tackle and Baits: The Business End
Once you have your rod and reel sorted, it's time to focus on the business end of your line: the hooks, sinkers, swivels, and most importantly, the bait. Having a well-stocked tackle box is key to adapting to different conditions and target species.
For hooks, a variety is crucial. Sizes ranging from #4 for smaller baits and fish (like smelt or perch) up to 2/0 or 3/0 for larger cut baits targeting croaker, halibut, or shark are good starting points. Circle hooks are excellent for bottom fishing, as they often result in corner-of-the-mouth hookups, making catch-and-release easier and reducing gut-hooking. For sinkers, pyramid weights (1-4 oz) are great for holding bottom in strong currents, while egg sinkers (1-3 oz) allow line to run freely, which is essential for certain rigs like the Carolina rig. Swivels prevent line twist, and good quality barrel or ball bearing swivels are worth the investment. Always use a fluorocarbon leader, typically 15-30 lb test, as it's nearly invisible underwater and more abrasion-resistant than monofilament.
When it comes to bait, fresh is almost always best. Common and highly effective natural baits include lugworms or bloodworms (especially good for croaker and perch), ghost shrimp, market shrimp, squid, and cut pieces of anchovies or sardines. Sometimes, you can even catch your own bait right off the pier using a sabiki rig. Artificial baits, such as Gulp! marine worms or jerk shads, can also be incredibly effective, especially when fishing for halibut or calico bass around structure. These can be particularly handy if you’re not keen on handling live or smelly bait. Many anglers keep a varied selection, easily purchased from online retailers like Amazon, ensuring they're prepared for whatever the fish might be biting on.
Here's a quick reference table for common pier species and suggested tackle:
| Target Species | Rod/Reel | Line (Main/Leader) | Hook Size | Preferred Baits |
|---|---|---|---|---|
| Surfperch | Light-Med Spinning 7-8' | 8-12lb Mono/FC | #6 – #4 | Worms, Shrimp, Gulp! Sandworms |
| Croaker | Medium Spinning 7-9' | 15-20lb Mono/FC | #4 – 1/0 | Worms, Squid, Cut Anchovy, Ghost Shrimp |
| Mackerel/Bonito | Medium Spinning 7-9' | 15-20lb Braid/FC | #2 – 1/0 | Sabiki, Small Spoons, Cut Anchovy |
| California Halibut | Med-Heavy Spinning 8-10' | 20-30lb Braid/FC | 1/0 – 3/0 | Live Bait (Smelt), Squid, Swimbaits |
| Leopard Shark | Heavy Spinning/Conv. 9-11' | 30-50lb Braid/FC | 3/0 – 6/0 Circle | Mackerel Head, Squid, Bloody Cut Bait |
| Rockfish | Medium Spinning 7-9' | 20-30lb Braid/FC | 1/0 – 3/0 | Squid, Cut Bait, Grubs |
Mastering Pier Fishing Techniques
With your gear ready, it's time to dive into the actual fishing techniques that will help you put fish on the deck. While the general idea is simple – put bait in the water – there are nuances that greatly improve your chances.
Bottom Fishing: The Foundation of Pier Success
Bottom fishing is arguably the most common and often the most productive method for pier anglers, especially for species like croaker, halibut, and various sharks and rays. The goal is to present your bait directly on or just above the seabed, where many of these fish forage.
One of the most popular rigs for bottom fishing is the high-low rig, sometimes called a dropper loop rig. This setup features two or more hooks spaced above a sinker at the very end of the line. It's incredibly effective because it allows you to present multiple baits at slightly different depths, increasing your chances of a bite and sometimes even allowing you to catch two fish at once! For instance, you might use a piece of cut anchovy on the bottom hook for a halibut and a ghost shrimp on the upper hook for a croaker. Another excellent option is the Carolina rig, particularly favored for halibut and larger fish that prefer a free-moving bait. This rig consists of an egg sinker sliding freely on the main line, followed by a bead (to protect the knot), a swivel, and then a 12-36 inch fluorocarbon leader tied to your hook. The sliding sinker allows the fish to pick up the bait and swim a short distance without feeling immediate resistance, which can be crucial for wary fish.
When bottom fishing, cast your rig out and let it sink to the bottom. Once it hits, reel in any slack line so you have a tight line to feel bites, but don't pull the sinker off the bottom. It’s a good idea to periodically lift and drop your rod tip slightly or give a very slow, short retrieve, just enough to stir up a puff of sand or mud. This can mimic a foraging baitfish and often attracts curious predators. Be patient, as bottom fishing often requires waiting for fish to come to your bait. If you don't get any action after 15-20 minutes, reel in, re-bait, and cast to a slightly different spot.
Casting and Retrieving: Lures and Light Tackle
While bait fishing is a staple, don't underestimate the power of lures for active, predatory fish. Casting and retrieving can be exhilarating and is particularly effective for species that hunt in the mid-water column or near the surface.
This technique shines when targeting schooling fish like mackerel, bonito, or small barracuda. Small, brightly colored spoons (like Krocodile or Kastmaster lures) are incredibly effective, mimicking fleeing baitfish. Similarly, metal jigs, swimbaits, and even topwater poppers can entice a strike. The key is to vary your retrieve speed and action until you find what the fish are responding to. A steady, moderate retrieve might work one day, while a retrieve with sudden jerks and pauses (known as a "jerk-pause" or "rip-stop" retrieve) could be the ticket the next. Experiment with different depths too; some days fish are holding deep, other days they're closer to the surface.
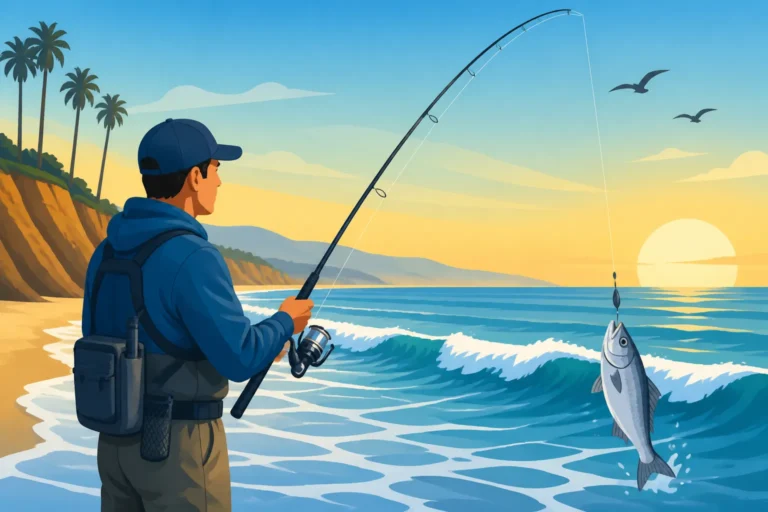
For mackerel, a classic retrieve involves a fast, erratic jigging motion right at the surface, which can trigger a feeding frenzy. Bonito often hit lures retrieved at a moderate to fast pace, sometimes with a slight twitch. When casting, aim to reach the deeper waters beyond the pier's immediate vicinity or target areas where you see baitfish jumping. This method requires a bit more active participation than bottom fishing, but the explosive strikes and vigorous fights can be incredibly rewarding. If you’re already familiar with the basics of California Surf Fishing Tips and Techniques, many of the casting and retrieving principles will transfer directly to pier fishing, especially for species found closer to the beach.
Live Bait Fishing: Bringing in the Big Ones
If you're serious about landing larger, more desirable game fish like a sizeable California halibut or even a legal-sized yellowtail (which occasionally cruise near piers in warmer waters), live bait is often your best bet. Nothing beats the irresistible appeal of a struggling, natural baitfish.
The first step, and often the most fun, is catching your own live bait. A sabiki rig, a series of small, shiny hooks designed to mimic baitfish, is perfect for this. Simply drop it straight down or cast it out a short distance, giving it gentle jigs. Schools of mackerel, sardines, or anchovies often congregate around piers, especially during warmer months. Once you've caught your bait, handle it gently and keep it alive in a bait bucket with an aerator.
When rigging live bait, the goal is to present it naturally while ensuring a good hookset. For smaller baitfish like anchovies or smelt, a simple nose-hook (hooking through the upper jaw, being careful not to hit the brain) allows the bait to swim freely. For larger baits, a dorsal-hook (hooking just behind the dorsal fin, avoiding the spine) can also work. Use a Carolina rig or a similar setup that allows the bait to swim somewhat unencumbered. Cast your live bait out and let it do its thing. The frantic, natural movements of a live baitfish are incredibly enticing to predators. This method requires patience and sometimes a bit of luck, but the payoff can be huge. Knowing How to Catch California Halibut often involves mastering the art of presenting live bait effectively, as these flatfish are notoriously picky.
Strategic Pier Fishing: Location, Timing, and Conditions
Beyond the gear and techniques, becoming a truly successful pier angler involves a strategic understanding of where and when to fish. It’s about more than just throwing a line in the water; it’s about reading the environment.
Reading the Pier: Where to Cast
Just like real estate, fishing is often about location, location, location. Not all spots on a pier are created equal, and understanding where to cast can drastically improve your odds.
First, pilings are magnets for fish. The vertical structure attracts baitfish seeking cover and offers ambush points for predators. Cast your bait or lure as close as possible to these pilings without getting snagged. The shaded areas beneath the pier decking and around the pilings are also prime spots, as fish often seek refuge from direct sunlight or use the darkness for concealment. If you can see any submerged structure around the pilings – rocks, old tires, even discarded fishing line – these create additional habitat and should be targeted.
Second, consider the pier's end versus its middle and beginning. The very end of the pier often reaches deeper water, which can be excellent for larger, pelagic species like bonito, barracuda, or even a roaming halibut. The middle sections might be good for a mix of bottom fish and schooling baitfish, while the shallower areas closer to shore are ideal for surfperch, croakers, and juvenile halibut. Look for the "surf line" – the area where waves consistently break. Casting just beyond this line can put your bait in the path of fish moving along the beach. Observing where other anglers are catching fish can also offer valuable clues. Remember, even though Fishing from a Pier in California: Rules states that a license isn't needed on most public piers, understanding where fish might be is crucial for success.
Tides, Currents, and Seasons
The rhythm of the ocean plays a huge role in fish behavior. Ignoring tides and currents is like trying to guess the busiest time at a restaurant – you might get lucky, but you're probably going to be waiting a long time.
Moving water is almost always better than slack water. Fish are generally more active and feed more aggressively when the tide is moving, whether it's incoming (high tide) or outgoing (low tide). These currents stir up the seabed, dislodging bait, and concentrate food sources, making it easier for fish to find a meal. Look for tidal charts for your specific pier location and plan your trip around the peak hours of a strong tidal swing. Often, the hour before and after a high or low tide can be particularly productive.
Seasonal patterns are also critical. Different species are present in different numbers at various times of the year. For example, mackerel and bonito tend to be more prevalent in warmer summer and fall months, while various perch species are often caught year-round, with peak seasons varying by specific type. Halibut fishing can be good throughout the warmer parts of the year, with spring and fall often seeing strong runs. Knowing Best Times to Fish in California and consulting a California Fishing Seasons: Month-by-Month Guide can give you a massive advantage, helping you target the most likely species for your visit.
Weather and Water Conditions
Just like us, fish react to changes in weather and water conditions. Being aware of these factors can help you decide whether it's even worth making the trip or how to adjust your strategy.
Swell and wind can make a big difference. A moderate swell can actually be beneficial, as it churns up the bottom and dislodges food, but a large, crashing surf can make fishing difficult and even dangerous. Strong winds can make casting nearly impossible and make it hard to feel subtle bites. Ideally, you want calm to moderate conditions for comfortable and effective fishing.
Water clarity is another important factor. While some fish, like sharks and rays, are less dependent on clear water, many visual predators like halibut and even mackerel prefer clearer conditions to spot their prey. After a heavy rain, runoff can muddy up the nearshore waters, pushing fish further out or making them less willing to bite. Conversely, sometimes a change in water temperature or clarity can trigger a bite, particularly if it pushes baitfish closer to shore. Understanding How Weather Affects California Fishing is a learned skill, but generally, stable, moderate weather with moving tides often provides the best conditions.
Pier Etiquette and Safety
Pier fishing is a shared experience, and like any shared public space, there are unwritten rules of conduct and essential safety considerations to keep in mind.
Sharing the Space: Unwritten Rules
California's piers can get crowded, especially on weekends or during popular fishing seasons. Good etiquette ensures everyone has an enjoyable time.
First and foremost, respect other anglers' space. Don't set up directly next to someone if there's ample room elsewhere. A good rule of thumb is to give at least 10-15 feet of space, more if people are actively casting. When casting, always look around to ensure your line won't cross another angler's, and never cast over someone else's line. This is a common cause of tangles and frustration. If lines do cross, try to communicate calmly and work together to untangle them. Often, the person with the line underneath should reel in first.
Keep your area clean. Pack out everything you pack in, including bait wrappers, discarded fishing line, and any other trash. Nobody likes to fish in a mess. If you're cutting bait, try to do it neatly and dispose of scraps properly, rather than leaving them strewn across the deck. Lastly, be mindful of noise. While friendly chatter is part of the experience, blasting music or being excessively loud can disturb other anglers and even spook fish.
Staying Safe on the Pier
Safety is paramount, both for yourself and for the marine life you interact with. Piers can have hidden dangers, and fish, especially larger ones, can pose risks.
Many piers, especially older wooden ones, can have slippery surfaces, particularly after rain or if there's spilled bait or fish guts. Wear appropriate non-slip footwear and watch your step. Be aware of your surroundings, especially if you're fishing at night. Good lighting, like a headlamp, is essential. When handling fish, especially those with sharp teeth (like barracuda) or spines (like sculpin or some rockfish), always use a glove, pliers, or a de-hooking tool. Never try to grab a potentially dangerous fish with bare hands.
For larger fish, you'll need a pier net or gaff to safely land them. Trying to hoist a heavy fish out of the water by your line alone is a surefire way to break your line and lose your catch, not to mention potentially injure the fish or yourself. Make sure your net is easily accessible and large enough for the fish you anticipate catching. It's also important to be aware of the rules. For example, it's widely known that California Pier Fishing License Rules generally mean you don't need a license to fish from a public pier, but local ordinances may still apply to things like crab pots or specific gear. Always double-check any local regulations posted on the pier itself.
Maximizing Your Catch and Enjoyment
Beyond the fundamentals, there are a few extra tips and tricks that can significantly enhance your pier fishing experience, both in terms of success and overall enjoyment.
Chumming and Attracting Fish
Chumming, when done correctly and legally (always check local regulations, as it's not allowed everywhere or for all species), can be a game-changer for attracting fish to your area. The idea is to create a scent trail and distribute small food particles that draw fish in and get them into a feeding mood, without feeding them so much that they ignore your baited hook.
For pier fishing, chopped anchovies, sardines, or mackerel are excellent chum choices. You can simply cut them into small, dime-sized pieces. Some anglers even mix them with bread crumbs or oatmeal to create a "chum ball" that disperses slowly. The key is to chum lightly and consistently. Don't dump a whole bucket of chum at once; this can quickly fill up the fish and send them away. Instead, toss out a handful of chum every few minutes, creating a steady trickle of scent and food down current from your lines.
Another effective technique is to use a mesh chum bag filled with cut bait. Hang this bag from the pier and let it drift in the current, slowly releasing its contents. This creates a continuous, controlled chum slick. Chumming is particularly effective for schooling fish like mackerel and bonito, which are highly responsive to scent. It can also bring in croaker and even halibut if the scent trail leads them to your area. Remember, the goal isn't to feed the fish, but to excite them and draw them to your baited hooks.
Landing Fish and Handling Your Catch
Successfully hooking a fish is only half the battle; properly landing it and handling it afterward are equally important for both retention and responsible catch-and-release.
For any fish that isn't tiny, a pier net (or hoop net) is your best friend. Trying to lift a two-pound fish straight up by your line risks breaking the line and losing the fish. Once you have a fish on, guide it over to the side of the pier where you have your net deployed. Have a friend or another angler carefully scoop the fish with the net, bringing it up to the deck. For particularly large fish like sharks or rays, a heavy-duty gaff or specialized landing tools might be necessary, though many anglers prefer to release these species quickly after a picture.
Once the fish is on the deck, decide if you're keeping it or releasing it. If keeping, dispatch it quickly and humanely. Place it immediately in a cooler with ice. This preserves the quality of the meat and is the most respectful way to handle your catch. If releasing, try to minimize its time out of water. Use pliers or a de-hooking tool to remove the hook gently. If the hook is deeply swallowed, cut the line as close to the hook as possible. Support the fish's body and, if it's a bottom fish, try to release it headfirst into the water or use a descending device if necessary. Always be mindful of California Fishing Bag and Size Limits for all species you catch, as violating these can lead to fines. It's crucial to consult the California Fishing Regulations Explained booklet, often available online from the CDFW, before you even head to the pier.
Disclaimer
The information provided in this guide is for general informational purposes only and is not intended as legal advice regarding fishing regulations. Fishing rules and regulations in California are subject to change by the California Department of Fish and Wildlife (CDFW) and may vary by location, species, and season. It is the responsibility of each angler to thoroughly review and understand the most current CDFW regulations before engaging in any fishing activity. Failure to comply with regulations can result in fines or penalties.